How to Build Underground Shelter in Messcraft
An underground shelter in Messcraft is one of the smartest early survival builds. It keeps your base hidden, protects you from mobs, saves materials, and gives you room to expand without building a giant structure above ground.
MessCraft is commonly described as a browser-playable Minecraft-style experience, including versions based on Minecraft gameplay, so most survival building logic follows familiar block-based rules: mine, craft, light the area, secure the entrance, and keep your essentials close.
This guide shows you how to build an underground shelter that is not just a hole in the ground, but a clean, useful survival base.
Why Build an Underground Shelter in Messcraft?
A shelter’s basic job is simple: keep you safe while you survive, store items, and prepare for the next day. Minecraft shelter guides often frame shelters as protection from danger, especially during the night, and that same idea applies well to Messcraft-style survival play.
An underground shelter gives you four big advantages:
- Safety: Fewer exposed walls and windows.
- Stealth: Easier to hide from other players in multiplayer.
- Efficiency: You collect stone, coal, and ores while digging.
- Expansion: You can add rooms later without redesigning the whole base.
The main risk is poor planning. A messy underground base can become dark, cramped, confusing, or unsafe. Build it with a simple layout from the start.
How to Build Underground Shelter in Messcraft Step by Ste
1. Choose the Right Location
Pick a spot that gives you quick access to useful resources. A hillside, small mountain, forest edge, or flat area near water works well.
Avoid digging directly under:
- Sand or gravel, because it may fall.
- Deep water, unless you are confident with sealing leaks.
- Very open spawn areas in multiplayer.
- Caves you have not explored yet.
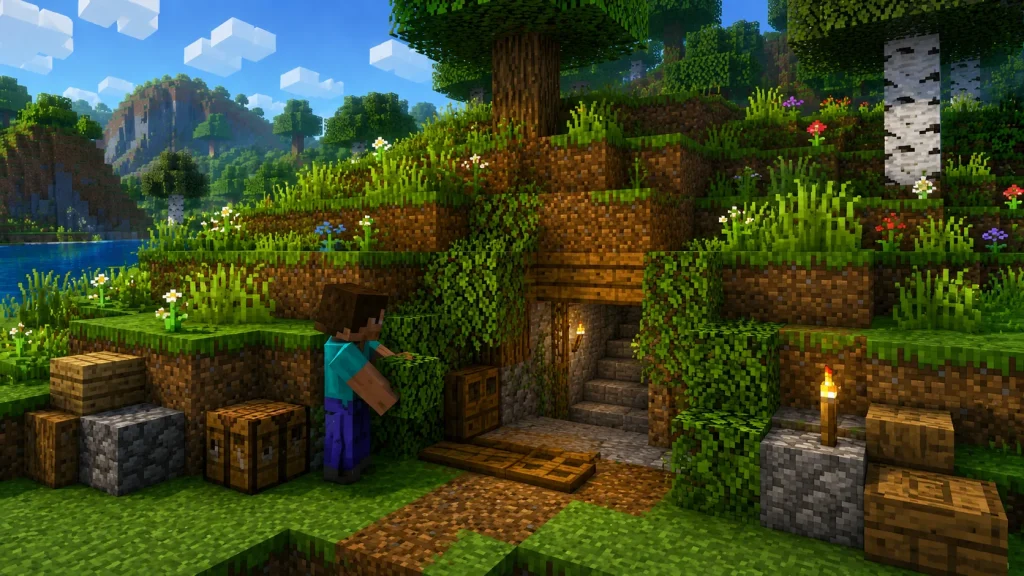
A hillside is the easiest beginner option. You can dig straight into the side, hide the entrance, and avoid making a visible hole in the ground.
2. Gather Basic Materials First
Before digging too deep, collect enough supplies to survive the first build phase.
You should have:
- Wood for doors, chests, crafting tables, and signs.
- Stone or cobblestone for walls and tools.
- Torches or any available light source.
- A crafting table.
- A furnace.
- Food.
- A weapon or basic defense item.
Do not wait until your base is finished to add lighting. Dark underground spaces can become dangerous quickly.
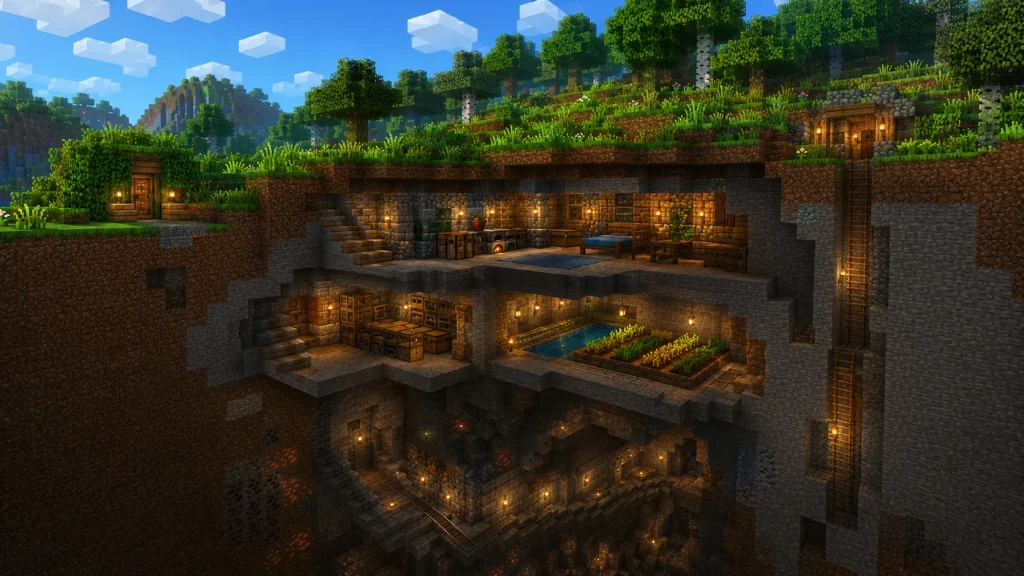
Best Beginner Layout for an Underground Shelter
For a clean starter base, use a simple three-zone layout.
Entrance Zone
This is the first small room after your door or hidden hatch. Keep it narrow and controlled. Add a door, trapdoor, or block-based cover depending on what your version allows.
Good entrance ideas include:
- A stairway hidden behind trees.
- A side tunnel in a hill.
- A trapdoor under carpet or blocks.
- A water-side entrance if you want extra concealment.
Keep the entrance simple. A clever base that is annoying to enter will slow you down every time you return.
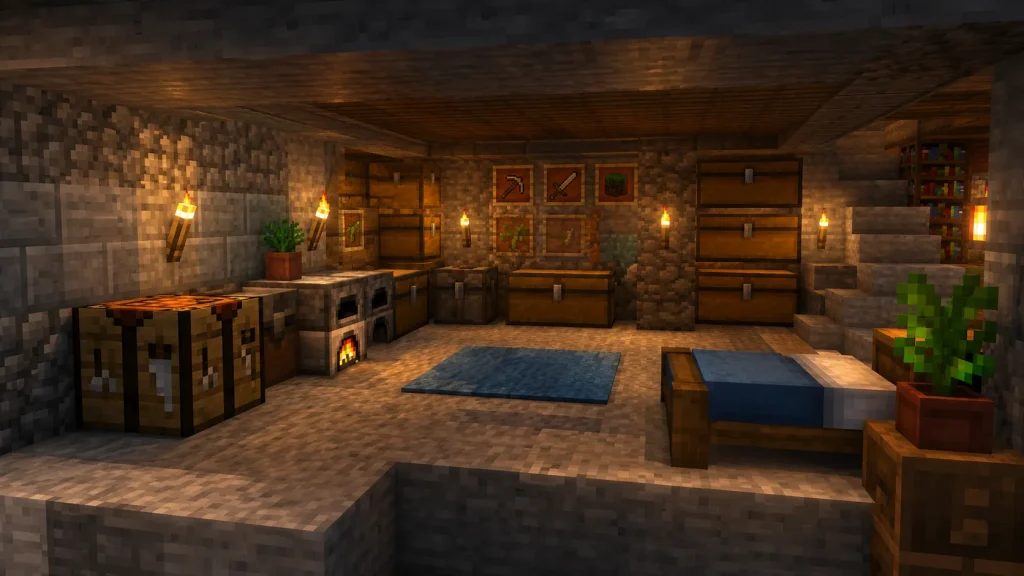
Main Survival Room
This is your core room. A good starter size is 7 blocks wide, 7 blocks long, and 3 blocks high. That gives you enough space for crafting, smelting, storage, and movement without making the build too large.
Add:
- Crafting table.
- Furnace.
- Double chests.
- Bed, if available.
- Torches on each wall.
- A small food or farming corner if the version supports it.
Keep the ceiling at least three blocks high. Two-block ceilings feel cramped and make the base harder to decorate later.
Storage and Expansion Tunnel
At the back of the main room, dig one straight tunnel. This becomes your expansion line.
From this tunnel, you can later add:
- Mining shaft.
- Food room.
- Bedroom.
- Treasure room.
- Enchanting or upgrade room.
- Emergency exit.
This keeps your base organized instead of turning it into random holes.
How to Make the Shelter Safer
Light Every Dark Corner
Lighting is not decoration underground. It is survival. Place lights along walls, stairways, tunnels, and room corners. A good rule is to place a torch every few blocks until there are no shadowy patches.
Use Doors, Blocks, or Hidden Entrances
A shelter without a secure entrance is just a cave. Use a door if you are playing solo. In multiplayer, consider hiding the entrance instead of making it obvious.
A simple hidden entrance can be as basic as:
- Dig into a hillside.
- Place the door one block deeper than the outer wall.
- Cover the outside with dirt, leaves, or natural blocks.
- Leave a small landmark only you recognize.
Build an Emergency Exit
This is the upgrade many beginners skip. Dig a second tunnel from your base to a different exit point. Hide it with blocks, a trapdoor, or natural terrain.
If mobs or players block your main entrance, you still have a way out.
Smart Rooms to Add After the Starter Shelter
Once the basic base is safe, expand slowly.
Mining Room
Dig a controlled staircase or shaft downward. Do not dig straight down. Add lights as you go and mark the route back to your base.
Storage Room
Use signs or item frames if available. Group chests by purpose:
- Building blocks.
- Food.
- Tools.
- Ores.
- Weapons.
- Rare items.
Good storage saves time. Bad storage turns every crafting job into a search mission.
Farm Room
If your Messcraft version supports farming mechanics, create a small underground food room. Use water, soil, and light. Keep it close enough to access easily but separate from your main living space.
Safe Room
A safe room is a small backup area with food, tools, weapons, and blocks. If something goes wrong, you can retreat and recover.
Design Tips to Make It Look Better
An underground shelter does not have to look boring.
Use contrast:
- Stone walls with wood floors.
- Cobblestone pillars.
- Smooth stone paths.
- Wooden beams across ceilings.
- Lantern-style lighting if available.
Add depth by placing support beams every few blocks. This makes the base feel intentional instead of mined out randomly.
For a premium look, keep your palette limited. Two or three main materials usually look better than ten different blocks fighting for attention.
Common Mistakes to Avoid
Do not make these beginner errors:
- Digging too deep before securing food and light.
- Forgetting an emergency exit.
- Building rooms with no clear purpose.
- Leaving dark corners.
- Making the entrance too obvious.
- Storing everything in one chest.
- Expanding randomly without a central tunnel.
A good underground shelter is simple, safe, and easy to navigate.
Conclusion
Learning how to build underground shelter in Messcraft is mostly about smart planning. Start with a hidden entrance, a clean main room, strong lighting, organized storage, and a safe expansion tunnel. Once the basics are secure, you can turn the shelter into a full underground base with farms, mining routes, secret exits, and decorated rooms.
Build small first. Expand with purpose.
FAQ Section
1. What is the best place to build an underground shelter in Messcraft?
A hillside is usually best for beginners because it gives you a natural entrance, easy concealment, and less digging than starting straight down from flat ground.
2. How big should my first underground shelter be?
A 7×7 room with a 3-block-high ceiling is a strong starter size. It fits storage, crafting, smelting, and movement without becoming hard to light.
3. Should I build underground or above ground first?
Underground is better for safety and stealth. Above-ground bases are easier to see and decorate, but they usually need more walls, roofs, and defenses.
4. How do I hide my underground shelter entrance?
Use natural blocks such as dirt, stone, leaves, or hillside terrain. Keep the entrance slightly recessed and avoid placing obvious torches outside.
5. What should I build first inside the shelter?
Start with lighting, crafting table, furnace, chest storage, and a safe entrance. After that, add a mining tunnel, bedroom, farm room, and emergency exit.